
Coffee Maker Leaking Water: Causes and Next Steps
Disclosure: We may earn a commission when you buy through links on this page, at no extra cost to you. As an Amazon Associate I earn from qualifying purchases. Learn more
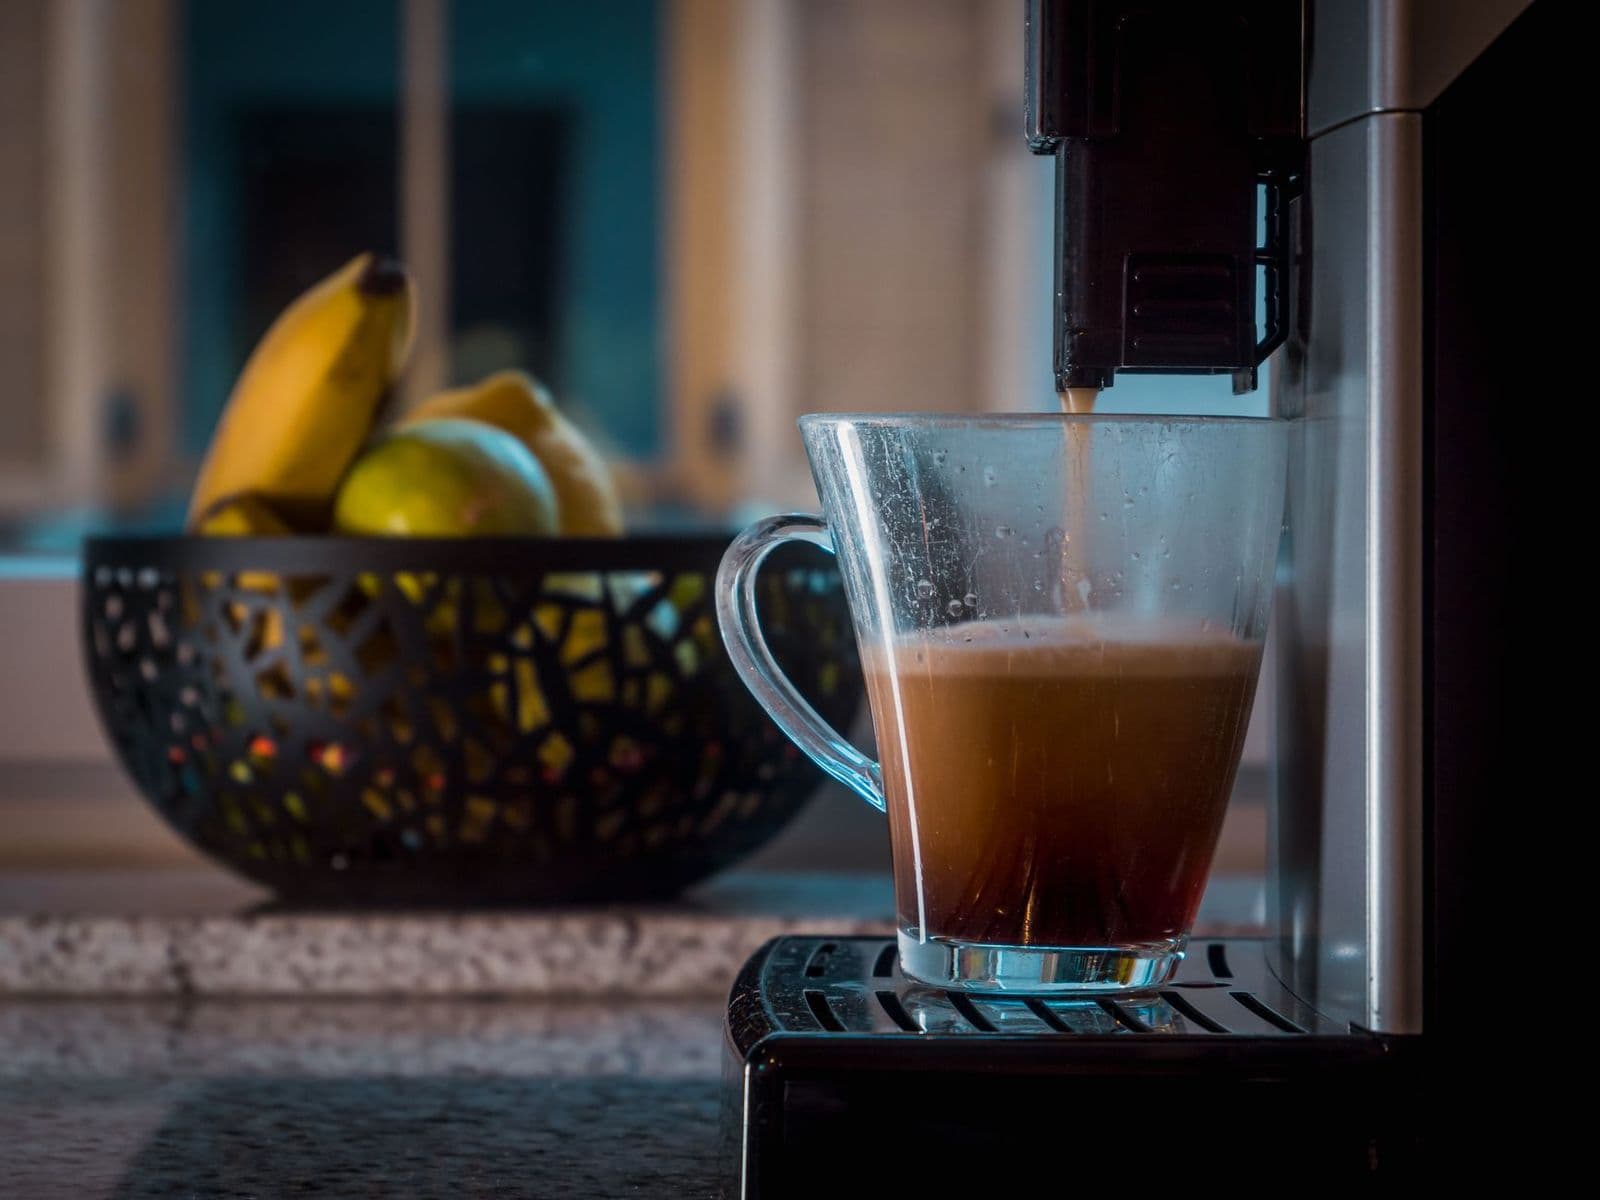
Coffee maker leaking water: trace the source, check seals and seating, descale only when indicated, and contact support when external checks fail.
A coffee maker leaking water is usually caused by something you can check from the outside: a reservoir that is not fully seated, a filter basket that overflowed, a carafe or pod holder in the wrong position, or a drip tray that is simply full. Less often, the leak comes from inside the machine, and that is a job for the manufacturer, not a screwdriver.
This guide covers drip brewers, pod machines and automatic espresso machines. It walks you through where the water is coming from, the safe external checks to try first, the likely causes, and the point at which you should stop and contact support.
Start Here: Safe Checks and the Main Next Step
Unplug the machine before you touch anything near the base, and let it cool if it was just brewing. If you see a damaged cord, smoke, a burning smell, or water near the plug, controls or base, stop using it and contact the manufacturer; do not plug it back in to see what happens.
If none of those signs are present, start with the simplest check: lift out the water reservoir, look at the seal or valve where it connects, and reseat it firmly until it clicks or sits flat as the manual shows. Then check that the filter basket, pod holder and carafe or drip tray are fitted correctly. Many leaks stop right there.
Do not open the housing, remove screws or probe internal parts with the machine powered. Those steps can void the warranty and create an electrical hazard. Everything in this guide uses user-accessible parts and the checks your manual allows.
Where Is the Water Coming From?
When It Happens
Timing narrows the cause quickly. A leak while the machine sits idle points to the reservoir, its seal or valve, or a crack in the tank. A leak only while brewing points to the filter basket, pod holder, carafe position or a blocked path. Water that appears after you serve coffee is often a full drip tray or drips from the carafe or spout.
Espresso machines have their own normal drips. A few drops from the steam wand after use, water in the drip tray after a rinse cycle, or a small puddle under the portafilter right after a shot are expected on many models. A steady drip from around the portafilter during brewing, or water under the machine with an empty tray, is not.
What You Can Observe
Dry the counter and the machine, then watch one brew cycle with paper towel under the base. Note where the first drops appear: under the reservoir, around the brew basket, at the front under the spout, or under the center of the base. Separate normal drip tray overflow, which is expected if the tray is full, from water that collects under the machine with the tray empty.
What It Does Not Prove
A wet counter does not prove an internal failure. Water can travel along the base and appear far from its source, and condensation from steam can look like a leak on cold mornings. Record whether the leak happens idle, during brewing or after serving, and repeat the observation once after reseating parts before drawing conclusions.
External Checks Before Any Cleaning Cycle
Power and Correct Assembly
Use the machine's normal controls only, and confirm every removable part is fitted the way the manual shows: reservoir fully seated, lid closed, filter basket locked or swung fully closed, carafe or cup centered under the outlet, and drip tray pushed all the way in. On drip machines with a pause-and-pour valve, the carafe must press that valve open; if the carafe is off-center, coffee backs up and overflows the basket.
Coffee, Water, and Mode
Check what you loaded. Too much coffee, a grind that is too fine, or two paper filters stuck together can slow drainage until the basket overflows. On pod machines, a damaged pod, a pod meant for another system, or a missing pod holder can send water around the pod instead of through it. Make sure the water level is not above the max line and that the cup size or carafe setting matches the vessel underneath.
Single serve brewers deserve a closer look at the pod area. If the pod holder is not clicked fully into place, or the lid does not close completely over the pod, water can escape around the edges instead of passing through the pod. Clean only the parts of the pod holder your manual says are removable, and follow its guidance on clearing the needle area rather than improvising with tools.
User-Accessible Components
Inspect only the parts your manual identifies as removable or user-serviceable: the reservoir and its seal or valve, the filter basket and its drip-stop valve, the pod holder and its needle area if the manual allows cleaning it, the carafe lid, and the drip tray. Look for cracks, chips, coffee grounds on seals, or a missing gasket. Rinse and reseat each part, then run a water-only cycle to see whether the leak returns.
Coffee Maker Leaking Water: Possible Causes and Manual-Approved Checks
Input or Setting Mismatch
Many leaks start with what goes into the machine. Overfilling the reservoir past the max line, choosing a large cup size over a small mug, or brewing a full pot into a carafe that is not fully in place can all send water where it should not go. A reservoir that is not seated can drip from its valve even when the machine is off.
What supports this possibility: the leak appears only with certain settings or vessels, or only after refilling. The check is simple: fill only to the marked line, match the cup size or carafe setting to what is under the spout, reseat the reservoir until it clicks or sits flat, and run one water-only cycle while watching. If the leak stops, keep those habits and move on.
Accessible Residue or Incorrect Seating
Coffee grounds and residue are a common cause on drip and pod machines. Grounds stuck to the reservoir seal, the basket gasket or the pod holder can stop parts from sealing, and a basket clogged by fine coffee or a doubled filter overflows around the edges. On espresso machines, grounds on the group gasket can make water leak around the portafilter.
First separate normal tray overflow from a real leak: empty the drip tray and see whether water still collects under the machine. Then remove, rinse and dry the basket, pod holder and seals the manual lets you remove, wipe the seating surfaces, and refit everything carefully. If the drip tray is simply filling faster than expected, empty it more often; that is normal use, not a fault.
Maintenance State
Mineral scale and old coffee oils can narrow water paths inside a machine, so water backs up or exits somewhere unexpected. Clues include slower brewing than usual, gurgling, a descale or clean indicator, or a leak that started gradually over weeks rather than suddenly.
Record whether the leak happens idle, during brew or after serving, because that timing decides which maintenance task, if any, makes sense.
If it happens during brewing and the machine also brews slowly or shows a descale prompt, running the descaling or cleaning cycle in your manual, with the descaler it approves, is the appropriate next step. Vinegar is acceptable only if your manual approves it. If the leak happens while idle, descaling is unlikely to help; focus on the reservoir and its seal instead. Our guide on how to descale a coffee maker explains the general process.
When the Cause May Need Service
External checks have limits. If water collects under the center of the base with the reservoir, basket and tray all correctly fitted and clean, if the tank is cracked, or if the leak continues after a completed descaling cycle, the source may be an internal hose, seal, valve or tank that you cannot reach safely.
At that point, stop retrying. Running a leaking machine repeatedly can let water reach electrical parts and can damage cabinets and counters. Contact the manufacturer, describe what you observed, and follow their instructions on whether to send it in or replace a part.
Model-Specific Alerts and Next Steps
Some machines show lights or messages related to water, such as a tank light, a tray-full warning or a descale prompt. Their exact meaning differs by brand and model, so use the table below as a general guide and confirm the documented meaning in your own manual before acting.
| Alert type | Usual meaning (check manual) | Permitted user step | Stop and contact support if |
|---|---|---|---|
| Add water or tank light | Reservoir empty or not seated | Refill to the line and reseat the tank | Light stays on and the tank leaks when seated |
| Drip tray full or tray missing | Tray needs emptying or is not fully inserted | Empty, dry and push the tray fully in | Tray fills during idle periods with no brewing |
| Descale or clean prompt | Scale or residue cleaning due | Run the approved cycle with the approved product | Leak continues right after a completed cycle |
| Flashing lights or error code | Model-specific fault | Look up the code in the manual | Code returns after the documented fix |
Do not borrow button sequences or reset procedures from another model or generation, even within the same brand. If you cannot find the manual, use the model number on the label under the machine to search the manufacturer's US support site.
When to Contact Support or Consider Replacement
Contact the manufacturer when safety signs appear, when external checks and the approved cleaning cycle do not stop the leak, or when the tank or base is cracked. Prepare the model number, serial number if shown, purchase date, any error message or light pattern, when the leak happens (idle, brewing or after serving), where the water appears, and the steps you already tried.
Check your warranty before thinking about a new machine. Many coffee makers carry a limited warranty of a year or more, and some brands sell replacement reservoirs, carafes, lids and gaskets, which can solve a cracked part cheaply. Only consider replacing the machine after support confirms the repair is not covered or not worth it. For a broader look at symptoms beyond leaks, see our coffee maker troubleshooting guide.
Preventing the Same Issue
Fill only to the marked line, seat the reservoir fully every time, use the right filter size and a single paper filter, and match cup size settings to your mug. Keep seals and the basket free of grounds, empty the drip tray often, and descale on the schedule your manual gives. Our coffee maker maintenance guide covers a full routine. These habits reduce leaks, though no routine prevents every failure.
Frequently Asked Questions
Should I keep restarting the machine?
No. Restart once after reseating parts to confirm whether the leak returns, then stop if it does. Repeated cycles with an active leak can let water reach electrical parts and damage your counter.
Will descaling fix every symptom?
No. Descaling helps when scale slows water flow and causes backups during brewing. It will not fix a cracked tank, a missing seal or a misaligned basket, and it is unlikely to help a leak that happens while idle.
What information should I give manufacturer support?
Give the model and serial number, purchase date, when and where the leak appears, any alert shown, and the checks you already did. Photos of the wet area and the parts help support diagnose faster.
Your Next Step
If your coffee maker leaking water problem started today, unplug it, reseat the reservoir and every removable part, empty the drip tray, and run one water-only cycle while watching where water appears. If the leak continues with everything correctly fitted, or if you see any safety sign, contact the manufacturer with your model number and observations. For care routines that help prevent repeats, read our guide to coffee maker maintenance.


