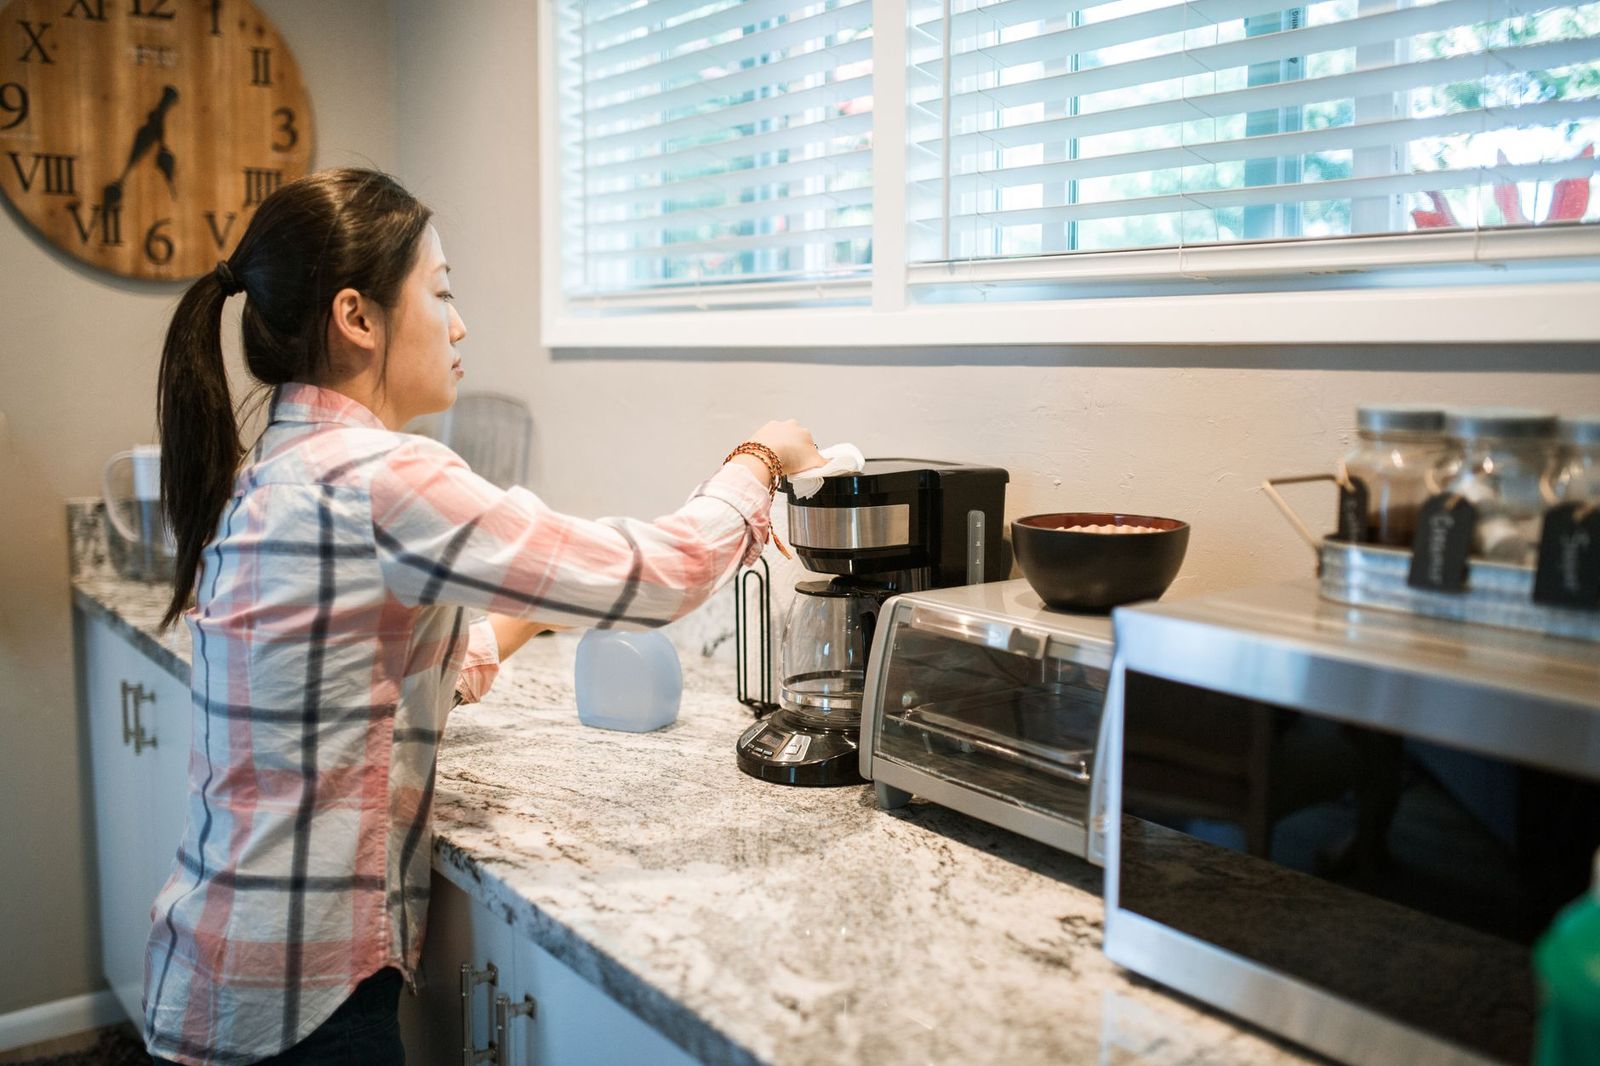
How To Clean A Drip Coffee Maker: A Model-Specific Guide
Disclosure: We may earn a commission when you buy through links on this page, at no extra cost to you. As an Amazon Associate I earn from qualifying purchases. Learn more

How to clean a drip coffee maker: separate washing, brew path cleaning and descaling, then follow your model's manual step by step.
Knowing how to clean a drip coffee maker properly means doing the right job for the problem in front of you. Washing the carafe and basket removes coffee oils, a cleaning cycle clears the brew path, and descaling removes mineral scale. Mixing them up wastes time and can leave the real problem untouched.
This guide on how to clean a drip coffee maker covers automatic drip brewers with a carafe, from basic 12-cup brewers to programmable and thermal models. It shows how to find your model's instructions, what to gather, and a safe step-by-step routine that follows your manual rather than a one-size-fits-all recipe.


Quick Answer and Task Boundary
Cleaning a drip coffee maker has three separate parts. Daily, wash the removable parts: carafe, lid, filter basket and any permanent filter. Periodically, clean the brew path with the product or program your manual names. When scale builds up, or a descale light comes on, descale as a separate task.
The short version: unplug and cool the machine, wash removable parts as the manual allows, wipe the warming plate and exterior, then run any cleaning cycle exactly as written for your model. For mineral scale, see our guide on how to descale a coffee maker, because that procedure is different.
Identify the Model and the Right Maintenance Task
Find the Exact Model and Manual
Look for the model number on the label under or behind the machine, often printed with a letter code such as DCC-3200 or CE251. Write it down with the color or finish, since some brands use suffixes for variants. Then download the manual from the maker's support site and open the "Care and Cleaning" or "Maintenance" section. Older and newer versions of the same family can differ, so match the exact code rather than a similar-looking model.
Check Whether This Is Cleaning or Descaling
Match the task to the symptom. Bitter or stale flavors, brown film in the carafe and an oily filter basket point to coffee oils, which washing and cleaning solve. Slow brewing, louder gurgling, white crust around the water outlet or a "clean" or "decalcify" light point to mineral scale, which needs descaling. Some brands label their descale reminder as "clean", so check the manual to see which task the light refers to.
What You Need Before Starting
Gather only what your manual approves. For most drip brewers that means warm water, a mild dish soap, a soft sponge or cloth, and a bottle brush for the carafe. If the manual names a coffee maker cleaner or a carafe cleaner, use that product and its instructions; a two-part kit such as a carafe cleaner plus descaler is handy if your manual allows both.
You will also need a sink or basin, a towel for drying parts, and, for any powered cycle, the carafe in place to catch the liquid. Keep paper towels nearby for the warming plate. Replacement charcoal water filters, if your model uses them, can be changed at the same time.
Set aside about 30 minutes for a full clean including drying time, less if you are only washing removable parts. Doing it at the end of the day means the parts can air-dry overnight and the machine is ready for the morning brew.
Before touching any part, switch the machine off, unplug it and let the warming plate and brew head cool. Powered cleaning cycles are the exception: those run with the machine plugged in, following the manual's exact steps.
How To Clean A Drip Coffee Maker: Step-by-Step Procedure
Prepare the Correct Components
Remove the carafe and lid, the filter basket and any permanent gold-tone filter. Throw away used grounds and paper filters. If your machine has a charcoal water filter holder, take it out only if the manual says to remove it during cleaning; some manuals ask you to remove it before descaling but not before washing.
Check the manual for which parts are dishwasher safe. Many carafes and baskets are top-rack safe, while thermal carafes, carafe lids with valves and some baskets are hand wash only. Do not soak parts the manual says to keep dry, such as lids with internal mechanisms. Never put the base unit in water.
Do not substitute a home-mixed chemical solution for the manufacturer's instructions. If the manual names a cleaner, use it at the strength printed on that product's label. If it says only soap and water for removable parts, stick with that.
Start the Approved Task or Program
For removable parts, wash by hand in warm soapy water or load them in the dishwasher as the manual permits. Use a bottle brush to reach the bottom of glass carafes and the inside of thermal carafes, where coffee oils collect. Rinse thoroughly so no soap taste remains.
For the machine itself, there are two common approaches. Some brewers have a powered "self-clean" or "clean" function, often listed on Cuisinart and similar programmable models, which runs a timed cycle. Others have no special program, and the manual describes a plain water brew cycle after cleaning. Follow the method your manual gives, and only use button sequences that appear in your exact model's manual.
Complete the Cleaning or Descaling Stage
If your manual calls for a cleaning product in the reservoir, add it exactly as the product label and manual describe, place the empty carafe on the warming plate and start the cycle. Let it run to the end without interruption unless the manual says to pause; some cycles are designed to stop partway to let the solution sit.
While parts dry, wipe the warming plate with a damp cloth once it is cool, removing any burnt-on coffee without abrasive pads. Wipe the brew head area and the underside of the shower head gently, and clean the exterior and control panel with a lightly damp cloth.
If the job you actually need is descaling, stop here and follow the descaling procedure in your manual instead. Running a cleaning product will not remove heavy scale, and running descaler is not the right tool for coffee oils.
Finish the Required Rinse and Reassembly
After any cycle that used a cleaning product, run plain water brew cycles until the smell and taste are gone; your manual states how many. Discard each carafe of rinse water. Rinse the carafe again before using it for coffee.
Reassemble the filter basket, permanent filter and charcoal filter holder, making sure each part clicks or seats as the manual shows. A basket that is not seated correctly can cause overflow on the next brew. Replace the carafe lid and set the carafe on the warming plate in its correct position, since many brewers have a pause-and-pour valve that only opens when the carafe is fully in place.
If your model has a reminder light, the manual explains whether it resets automatically or needs a button press. Plug the machine back in only when everything is dry and assembled.
Take a moment to look at the parts you just cleaned. Cracks in a glass carafe, a warped basket or a lid that no longer closes properly are worth replacing; most brands sell genuine replacement carafes and baskets by model number, which is safer than forcing a worn part back into service.
Check the Result Before Normal Use
Confirm Completion
Brew one carafe of plain water and check three things: the water flows at a normal pace, there is no soap or cleaner smell, and nothing leaks around the basket or carafe. Confirm that any cleaning or decalcify light has gone out as the manual describes. If all three look normal, your coffee maker is ready.
If a Prompt or Symptom Remains
If a reminder light stays on, re-read the manual's reset instructions; some lights need a button held, others clear after a full descale. If brewing is still slow or the coffee still tastes off, the cause may be scale rather than oils, so move to descaling. If the machine leaks, will not heat or shows a fault, stop and check our coffee maker troubleshooting guide or contact the manufacturer, rather than repeating cycles.
Common Mistakes to Avoid
The most common mistake is using the wrong task for the problem. Coffee oils need washing and cleaning, mineral scale needs descaling, and neither fixes the other. Match the job to the symptom before you start.
Another mistake is treating vinegar, cleaning tablets and descaler as interchangeable. Some manuals allow vinegar for descaling, others recommend against it, and cleaning tablets made for espresso machines may not suit a drip brewer. Use only what your model's manual approves.
Putting parts in the dishwasher or soaking them without checking is a third. Thermal carafes, lids with valves and some baskets can be damaged, so look for the dishwasher-safe note first.
Finally, avoid copying instructions from a different model or generation. Button sequences, cycle lengths and filter steps vary even within the same brand. If the instructions are not in your exact manual, do not use them.
A related mistake is leaving wet grounds or water in the machine for days. Coffee left in the basket or carafe encourages stale smells and residue, and standing water in the reservoir can taste flat. Emptying and rinsing after each use is the simplest habit that keeps a drip brewer clean between deeper sessions.
Frequently Asked Questions
Which cleaner is approved for this model?
The approved cleaner is whatever your model's manual names, and many drip manuals ask for only warm soapy water on removable parts. Some brands recommend their own cleaner or a specific type of descaler. If the manual is silent, use mild dish soap for parts and contact the maker before adding any chemical to the reservoir.
How often should I perform this task?
Wash the carafe, lid and filter basket after every use or at least daily. Clean the brew path as often as the manual recommends, typically when coffee starts tasting stale or oily. Descaling frequency depends on water hardness and use, so follow the manual's schedule or the machine's reminder light.
What if the cleaning or descaling alert remains?
If an alert stays on after cleaning, check the manual's reset procedure first, because many lights need a button press or only clear after a complete descaling cycle. If the light still will not clear after following the manual exactly, contact the manufacturer's support rather than running repeated chemical cycles.
Can I use a generic method from another coffee maker?
Not safely. Generic methods can use the wrong product, the wrong order of steps or a cycle your machine does not support. Use the instructions in your exact model's manual; if you have lost it, download it from the maker's site using the model number on the label.
Keep the Routine Simple
Now you know how to clean a drip coffee maker without guesswork: wash removable parts daily, clean the brew path when the manual or the taste of your coffee says so, and treat descaling as its own task. Always confirm with a plain water brew and a cleared reminder light. For a full schedule of daily, weekly and monthly jobs, see our coffee maker maintenance guide.